
I’m including a little tutorial, since you can never have too many pointers when sewing with minky dot fabric. I learn something new every time I sew with it! If I can save just one person from the cursing that ensues when you sew with this slippery sucker of a fabric, I’ve done my job.
This is tutorial will help you with the method of construction. Your specific measurements will vary depending on the size blanket you want to use. I simply made a blanket whose length and width equaled the width of my dining room table! Easy, and the perfect size for a little babe.
First and foremost, I highly recommend pre-washing your fabric and minky backing before you begin. Any time you mix two types of fabrics with different shrink rates, it’s better to be safe than sorry. I did not pre-wash when I made Peg’s blanket and unfortunately when I saw it after she’d washed it I was pretty sad –it shrank weird. So sorry, Peg! Like I said, I learn something new with every project. I haven’t yet reached perfect quilter/sewist/crafter (a/k/a alien) status.
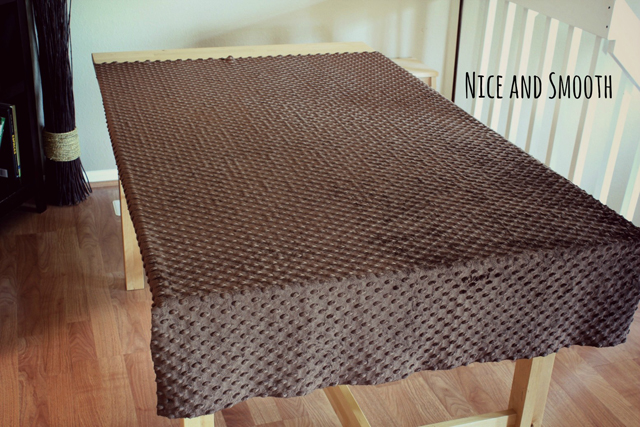
Now that we’ve established I’m human, let’s start. Lay your minky backing on your work surface, facing up, and smooth it out completely. Doing this on a table helps because the overhang keeps the fabric taught when you’ve smoothed it out.
Lay your main fabric on the minky, facing down, then lay your batting on top and smooth out all wrinkles so you have a perfectly flat surface. Note: my main fabric was 44″ wide but the minky I used was 58″ so I had quite a bit of overhang. Which is fine, because I’ll cut it off after the next step.

Now pin the living hell out of your sandwich. You will not regret this –you’ll only regret if you don’t pin enough! Treat this like a quilt and really baste it well. Minky shifts like crazy (especially this type of minky with the little knobs), so you need to stabilize! Then trim away any excess minky.

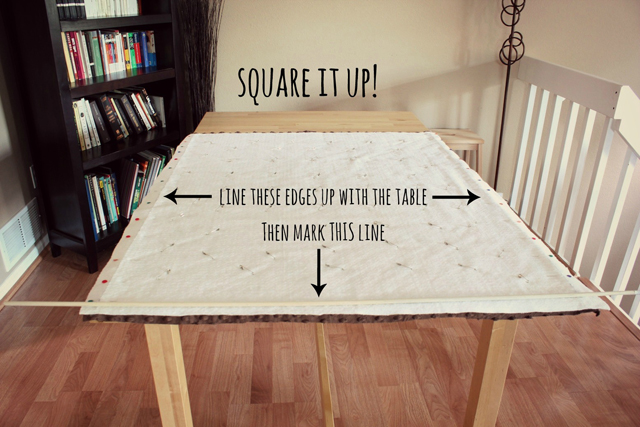
To make your blanket a perfect square (or rectangle), here’s how you’ll line everything up.
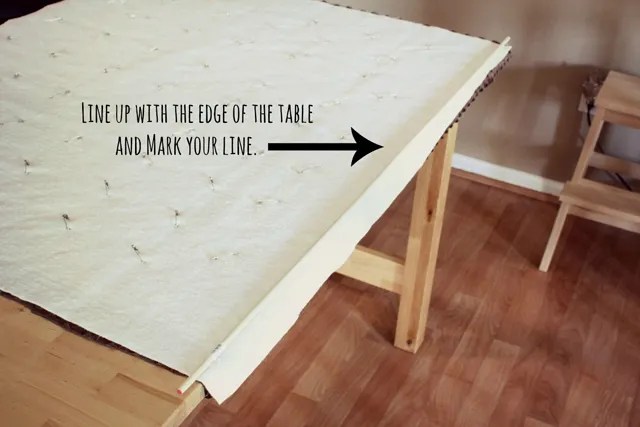
Place your pinned blanket at the edge of your table, with at least 1/2″ hanging over. Notice my minky and fabric aren’t even, or straight, or pretty. The edge looks pretty yucky. That’s okay! Don’t fret.
Take something with a long, straight edge (I used a dowel I had left over from a home improvement project) and line it up with the edge of your table. Mark that line. I was very careful not to move (or roll) my dowel as I marked.
Next you’ll pin along this entire line. You can place pins as close together as you want but I wouldn’t put more than 3 inches between each one. You really want everything to stay put when you sew on that line later on.

Continue marking and pinning each side as you did above. You’re marking your blanket the same way you would cut fabric if you were squaring it up. Use the first line you marked–the one you know is straight–as a reference point to line up your other sides.
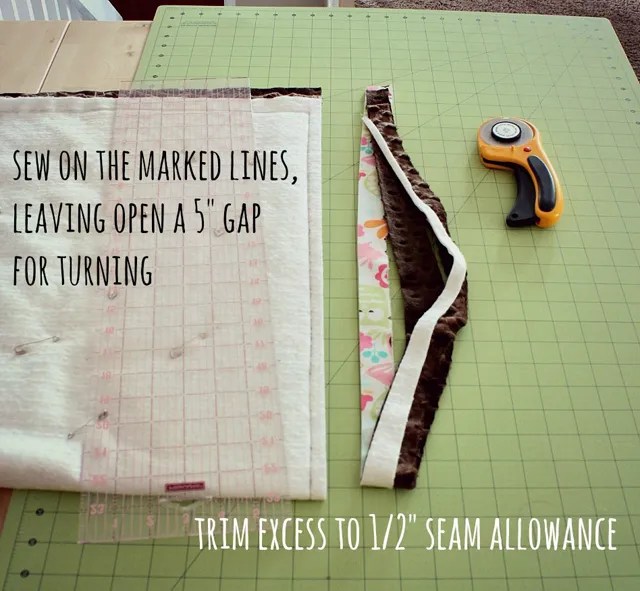
Using your walking foot (more stabilization? yes, please), sew on the lines you marked, stopping with your needle down at each corner, turning and going around the entire perimeter of your blanket. Leave open about a 5″ gap on one side through which you will turn your blanket right side out. I leave my pins in and just sew over them, being careful not to hit them with my needle (I read this tip on Kelly’s blog). I find this does a better job of keeping everything in place than if you remove pins as you sew.
Now take out your ruler and trim yourself a beautifully straight 1/2″ seam allowance. This is why I said not to worry if your edges weren’t perfect. It’s so much easier to sew on a straight line and trim later than it is to try to line up MINKY with two other layers of material and maintain a perfect square. Ask me how I know.
Turn your blanket right side out through the gap you left open before. Lay it back down on your table and take care to line up your edges nicely, smoothing out any wrinkles or shifting. Then pin it again, as before! You can still screw up your blanket at this point if you skip pinning because you still need everything stable when you top-stitch.
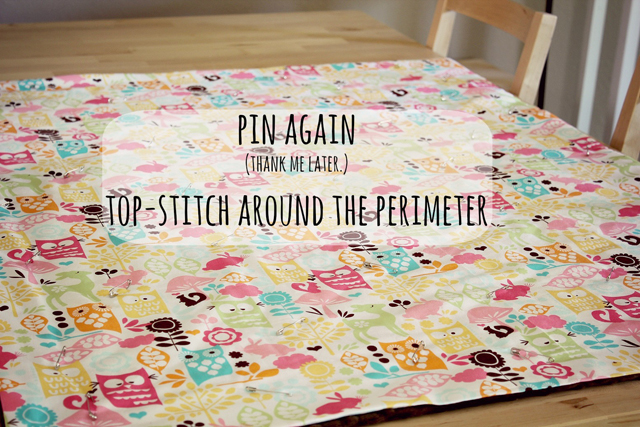
Done pinning yet? Now you can top stitch around your whole quilt, folding in the fabric at your opening to create a pretty edge. Top-stitch about 3/8″ from the outside of the blanket.
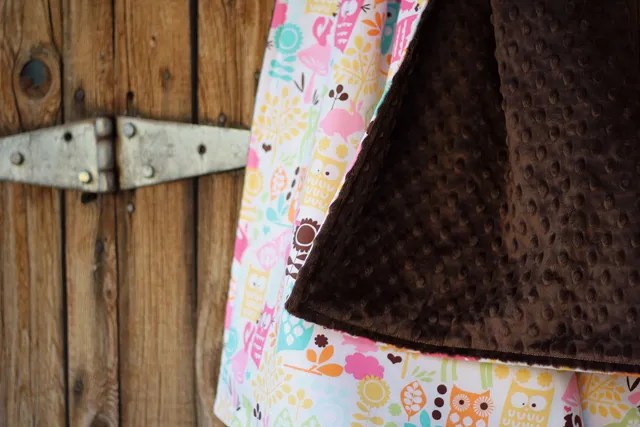
I didn’t quilt this one because I wanted it super flowy and snuggly but if you want to quilt it you can do that now too. Otherwise, take out your pins and you’re done!

That’s it for my minky blanket tutorial! Go forth and sew some minky. May the force be with you.


0 comments:
Post a Comment